Week 15: Wildcard Week
Wildcard
This week was really exciting. We learned about a lot of things in a very short time. I found the following points particularly interesting:
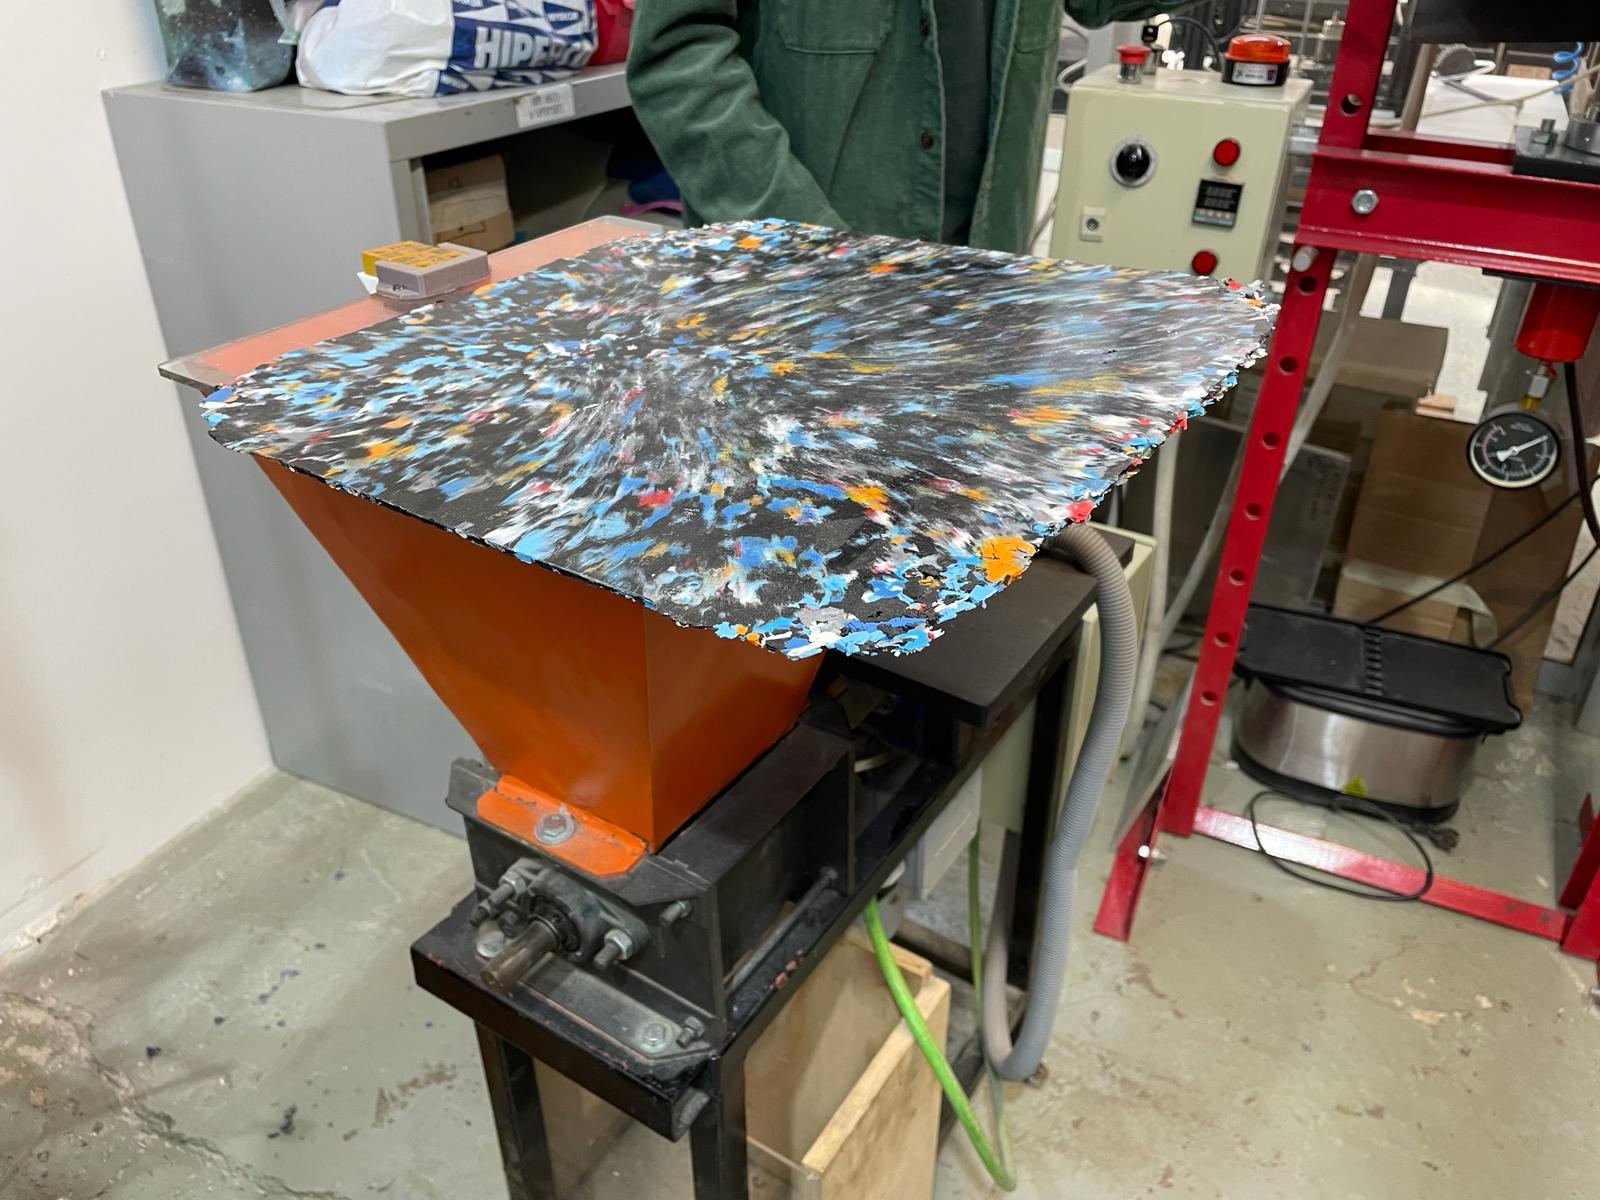
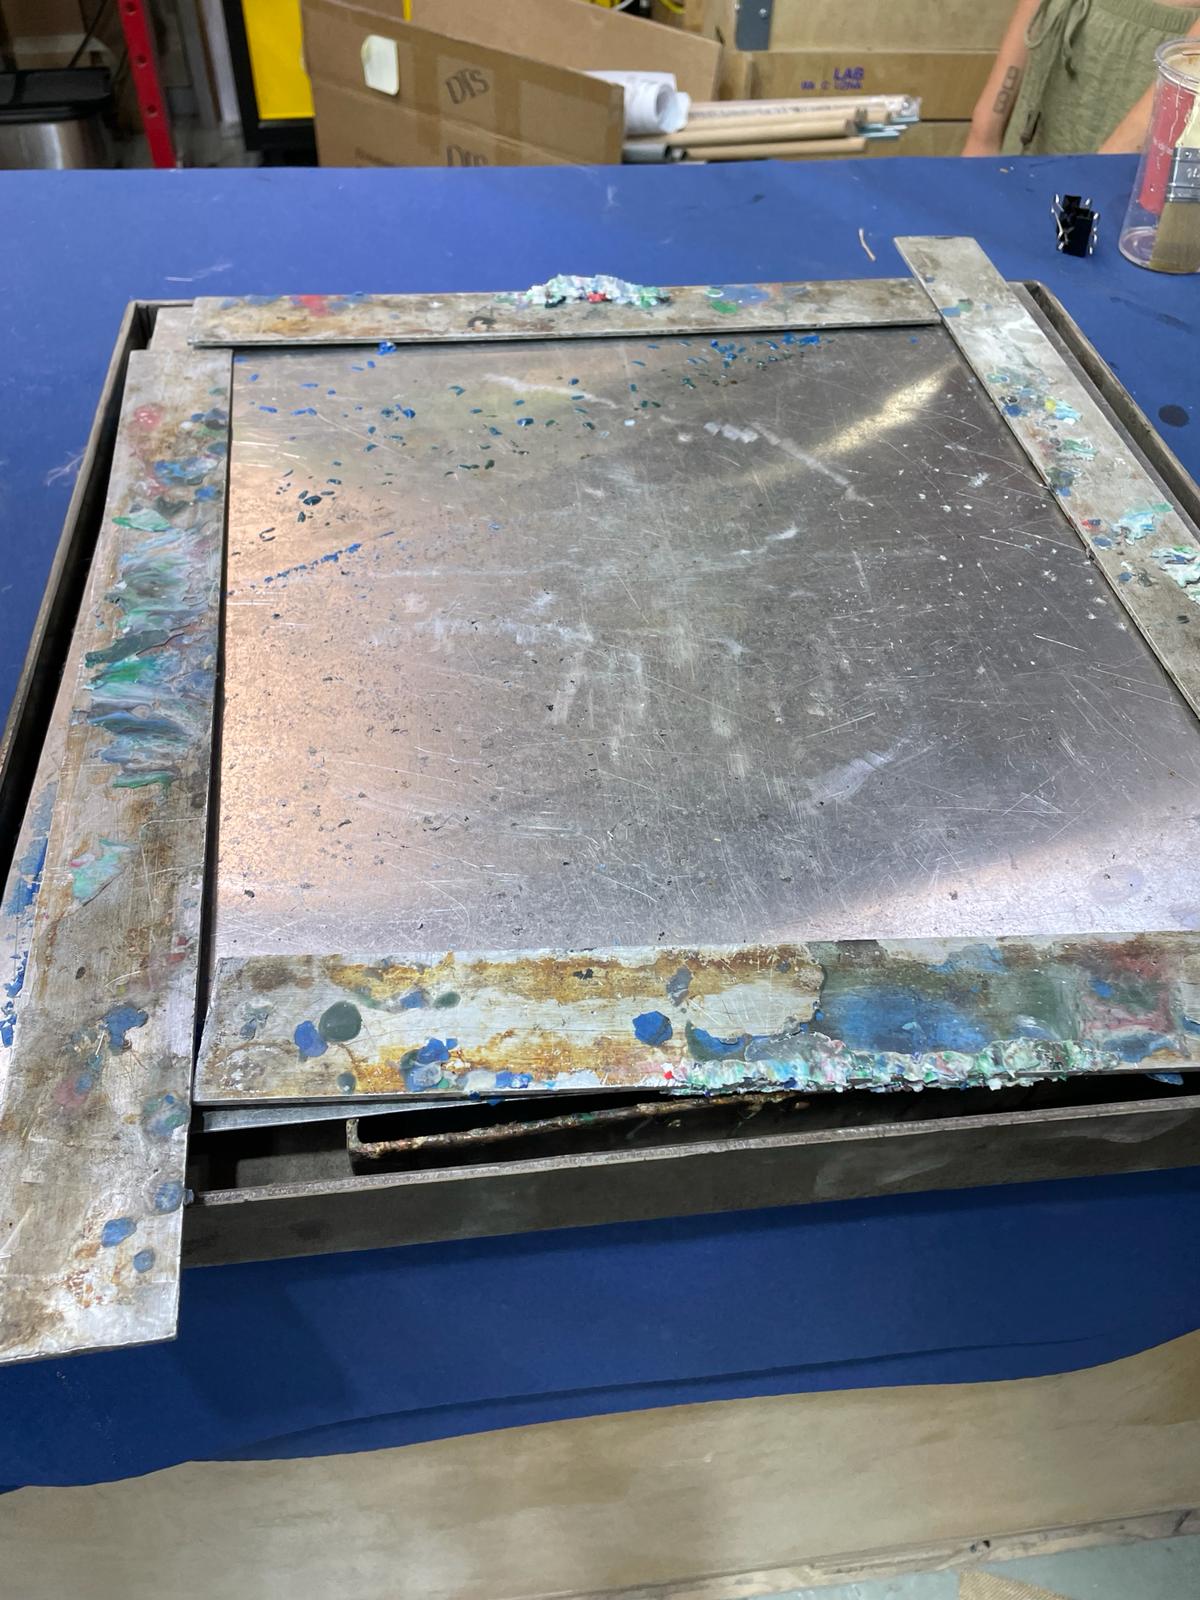
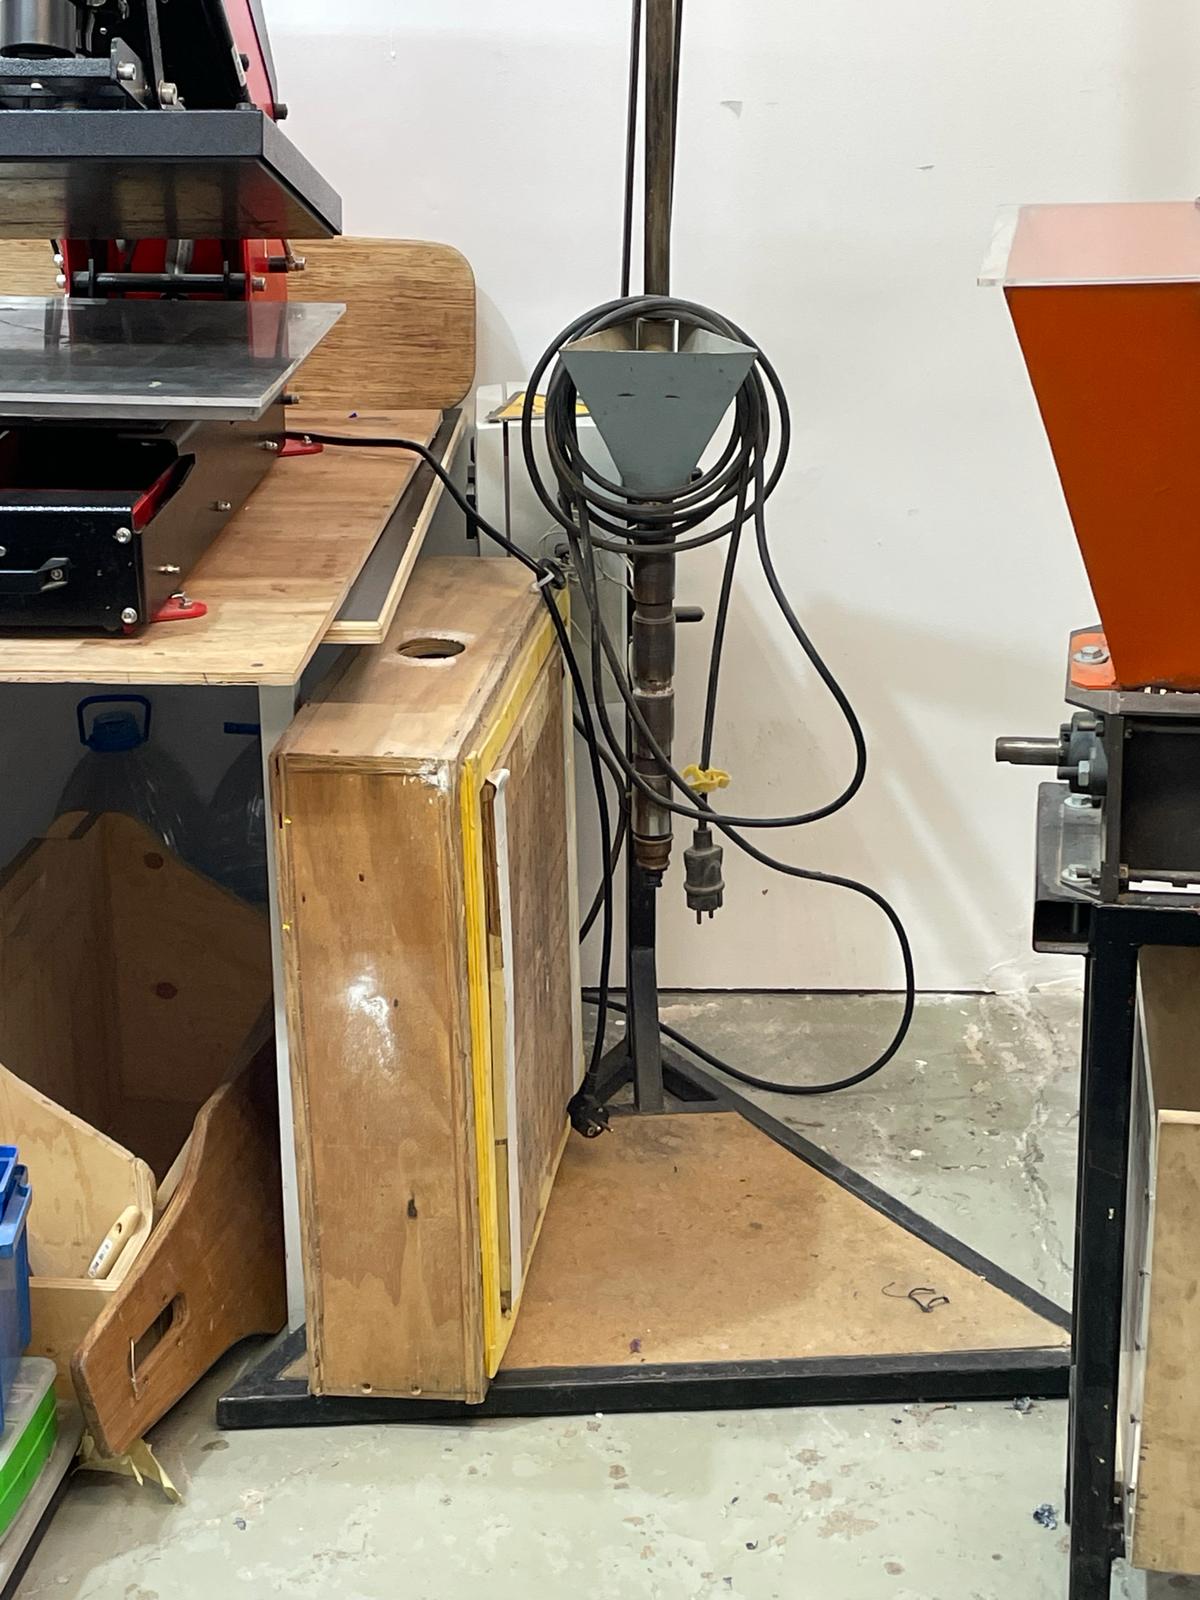
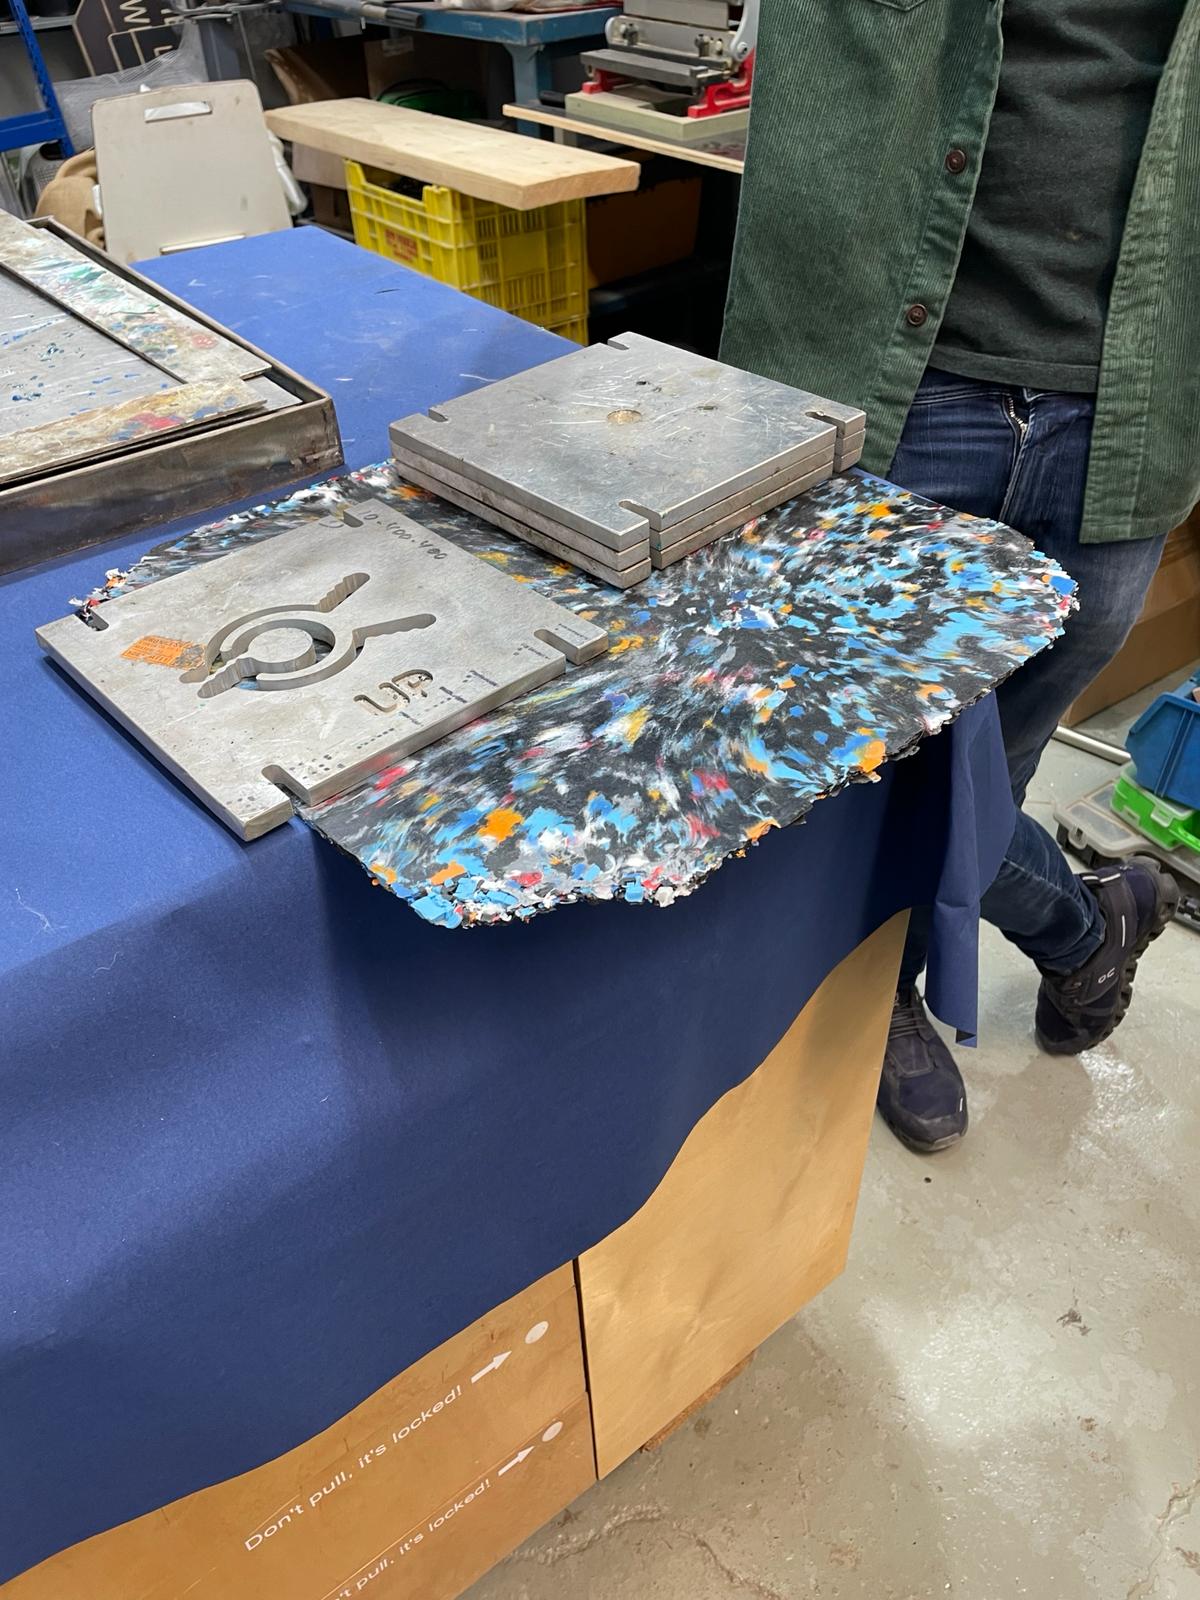
Precious Plastic
We got to know the Precious Plastic movement and the machines we have in the lab for recycling plastic. We learned that the plastic is first shredded in a special machine. It is important to ensure that only the same types of plastic are shredded and further processed together because different types of plastic have different processing temperatures. After shredding, the plastic can, for example, be heated in a press to create plastic sheets, which can then be further processed. It is also possible to heat the plastic first and then pour it into a mold. The production of the molds is expensive, but the molds are very durable.
Composites + 3D milling - Vacuum/Thermo forming
We prepared a 3D model for 3D milling together and then started the milling process on the machine. Since we had already worked with the CNC machine and Rhino CAM, and had already done 3D milling during Casting & Molding Week, many processes were already familiar.
I found it very exciting when we then dealt with vacuum and thermoforming. Vacuum forming and thermoforming are methods for making plastic parts or molds from other materials. We first made a vacuum form. In this process, a plastic sheet is heated and drawn into a specific shape by applying a vacuum. In thermoforming, we used fabric and coated it with a specific material. We then placed this fabric on our mold and created a vacuum in a special machine so that the material was pressed against the mold and dried. This process takes at least 12 hours. Both techniques are often used to manufacture packaging, enclosures, and other plastic products.
I can imagine using vacuum forming for the packaging in my final project.
Digital Embroidery
We learned about the electronic embroider machine and looked at some examples of embroider projects. On Julia Gäse's page, there is a Quick Guide to start your embroidery journey. Here you can find detailed instructions for digital embroidery and preparing files in Inkscape. We embroidered a test file.
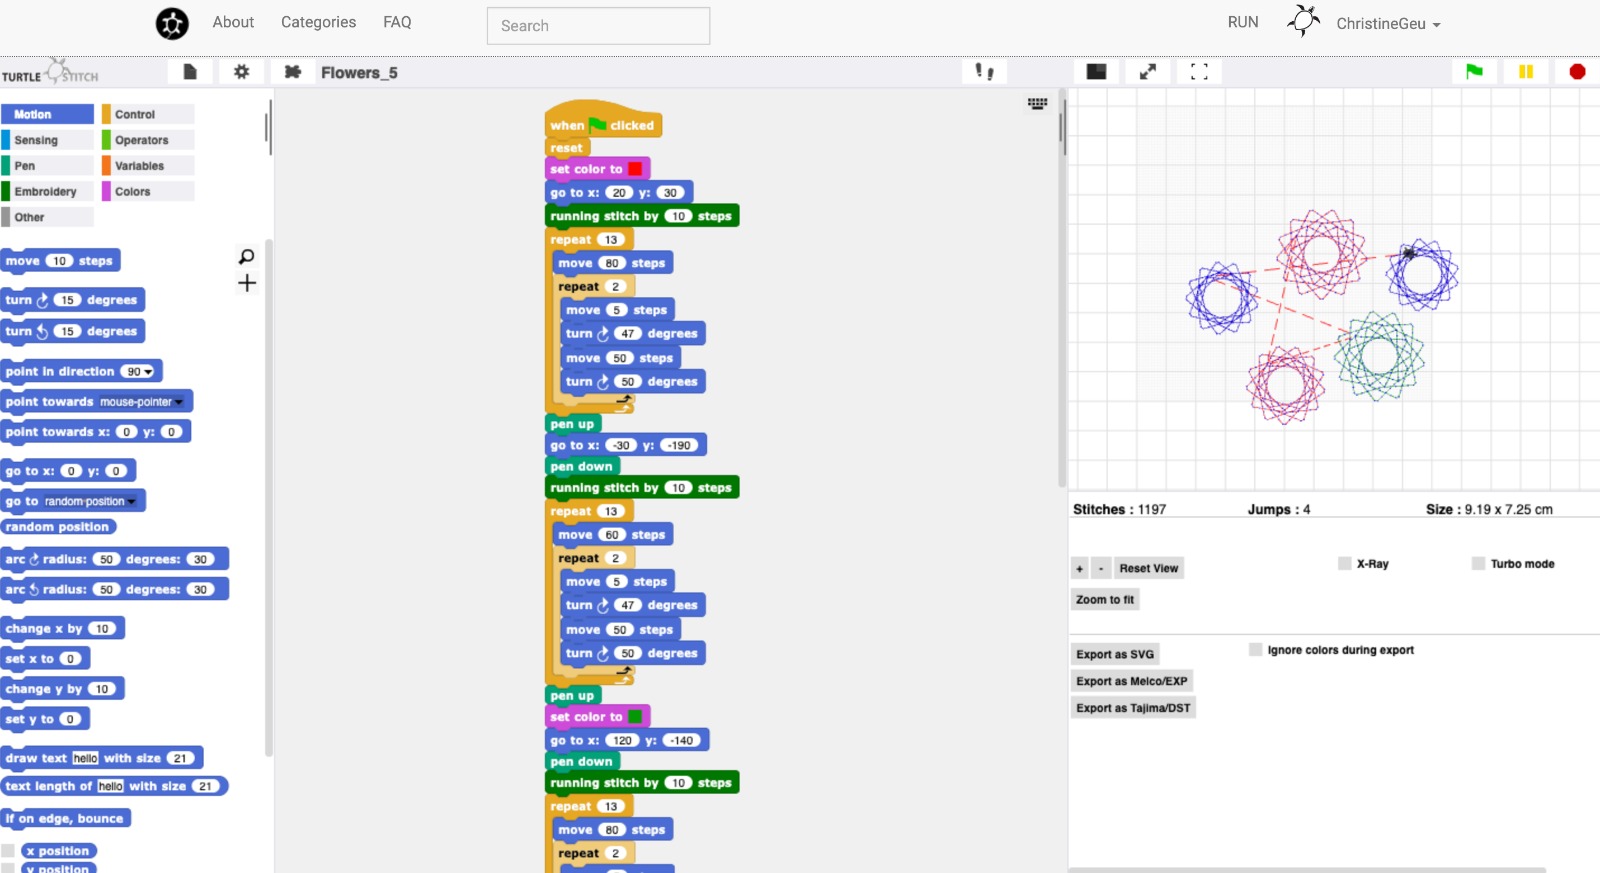
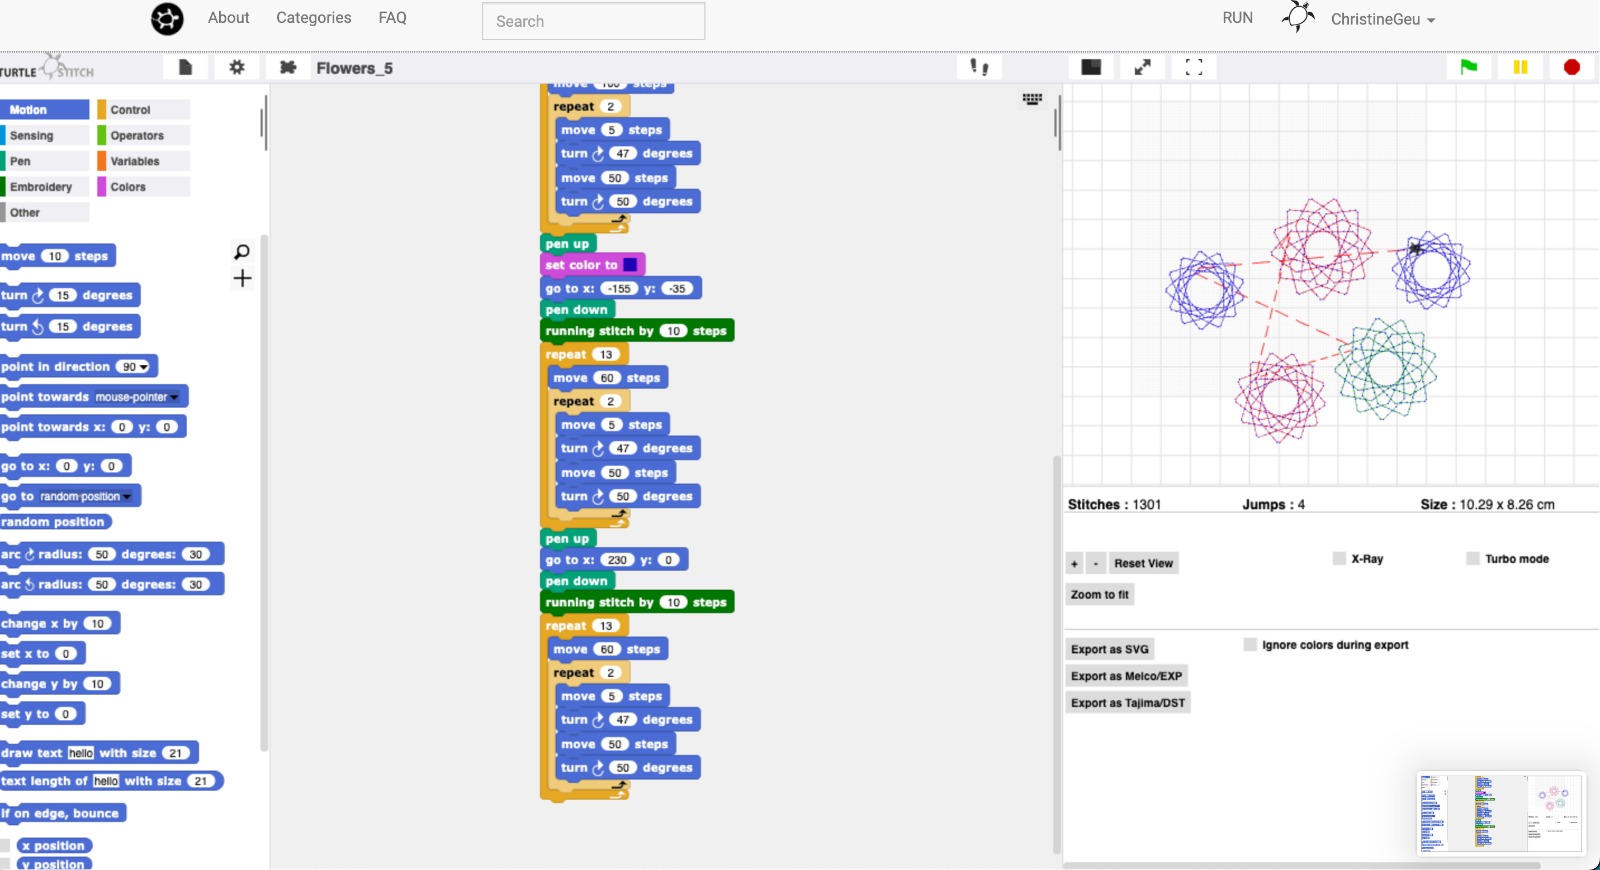
We then also got to know the program TurtleStitch, which I found super exciting. I had first considered doing it again with my children. However, it was still too complicated for their age, perhaps also because they do not speak English.
To potentially use the program with other children or young people in the future, I decided that I would like to fulfill the weekly task with it. At first, it was not so easy to get into it. However, as there are some good examples, I quickly found access to the program. I believe it is a very cool program for getting into programming. The simulation always immediately shows you when you've made a mistake and allows you to try out coding elements very easily and straightforwardly.
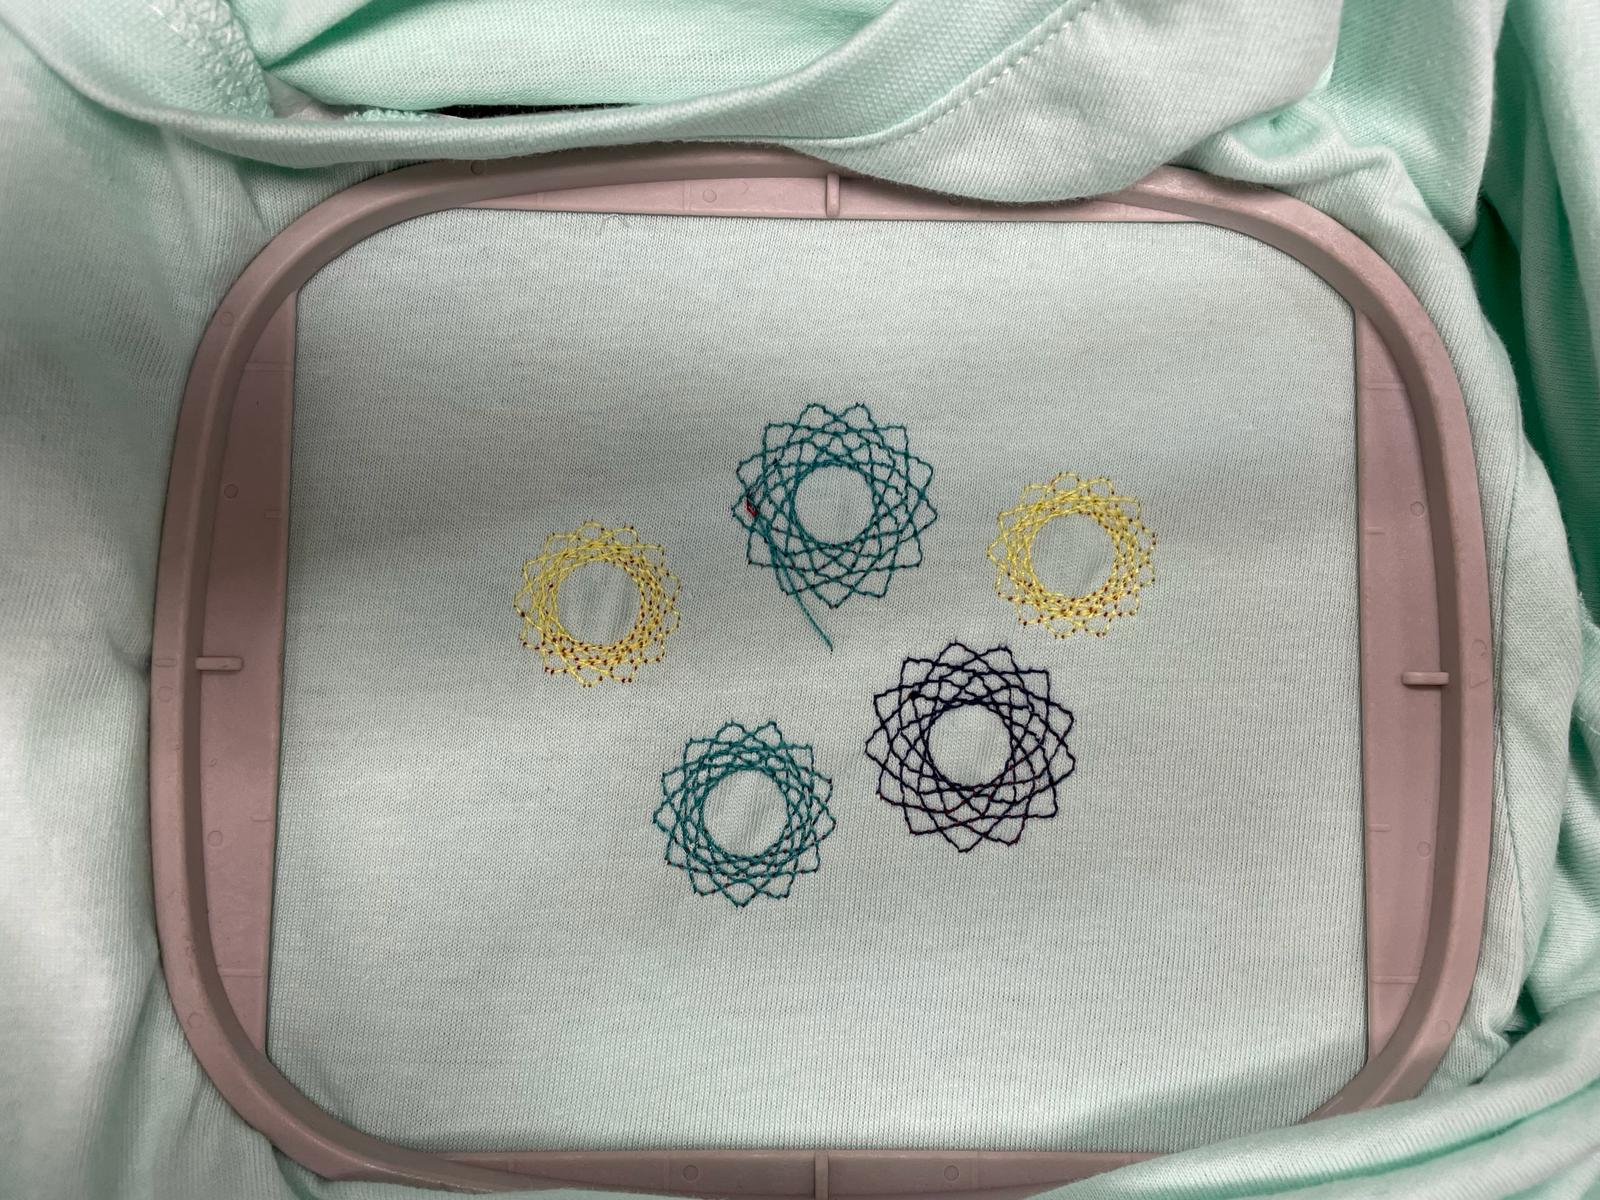
I then decided to make an embroidery on a T-shirt featuring several flower-like elements. I tried different variants and then decided to change the colors of the flowers and also their size. When I had the image ready as I wanted it, I downloaded the file as DST.

Going to the machine
When I had the image ready as I wanted it, I downloaded the file as DST. The following steps were necessary for embroider:
- Save the file on a USB stick
- Turn on the embroidery machine and insert the USB stick
- Select the file on the USB stick
- A preview is displayed
- Unfortunately, my image was too large and the reduction function was not sufficient to resize it adequately. I then slightly resized the file on my computer and saved it again
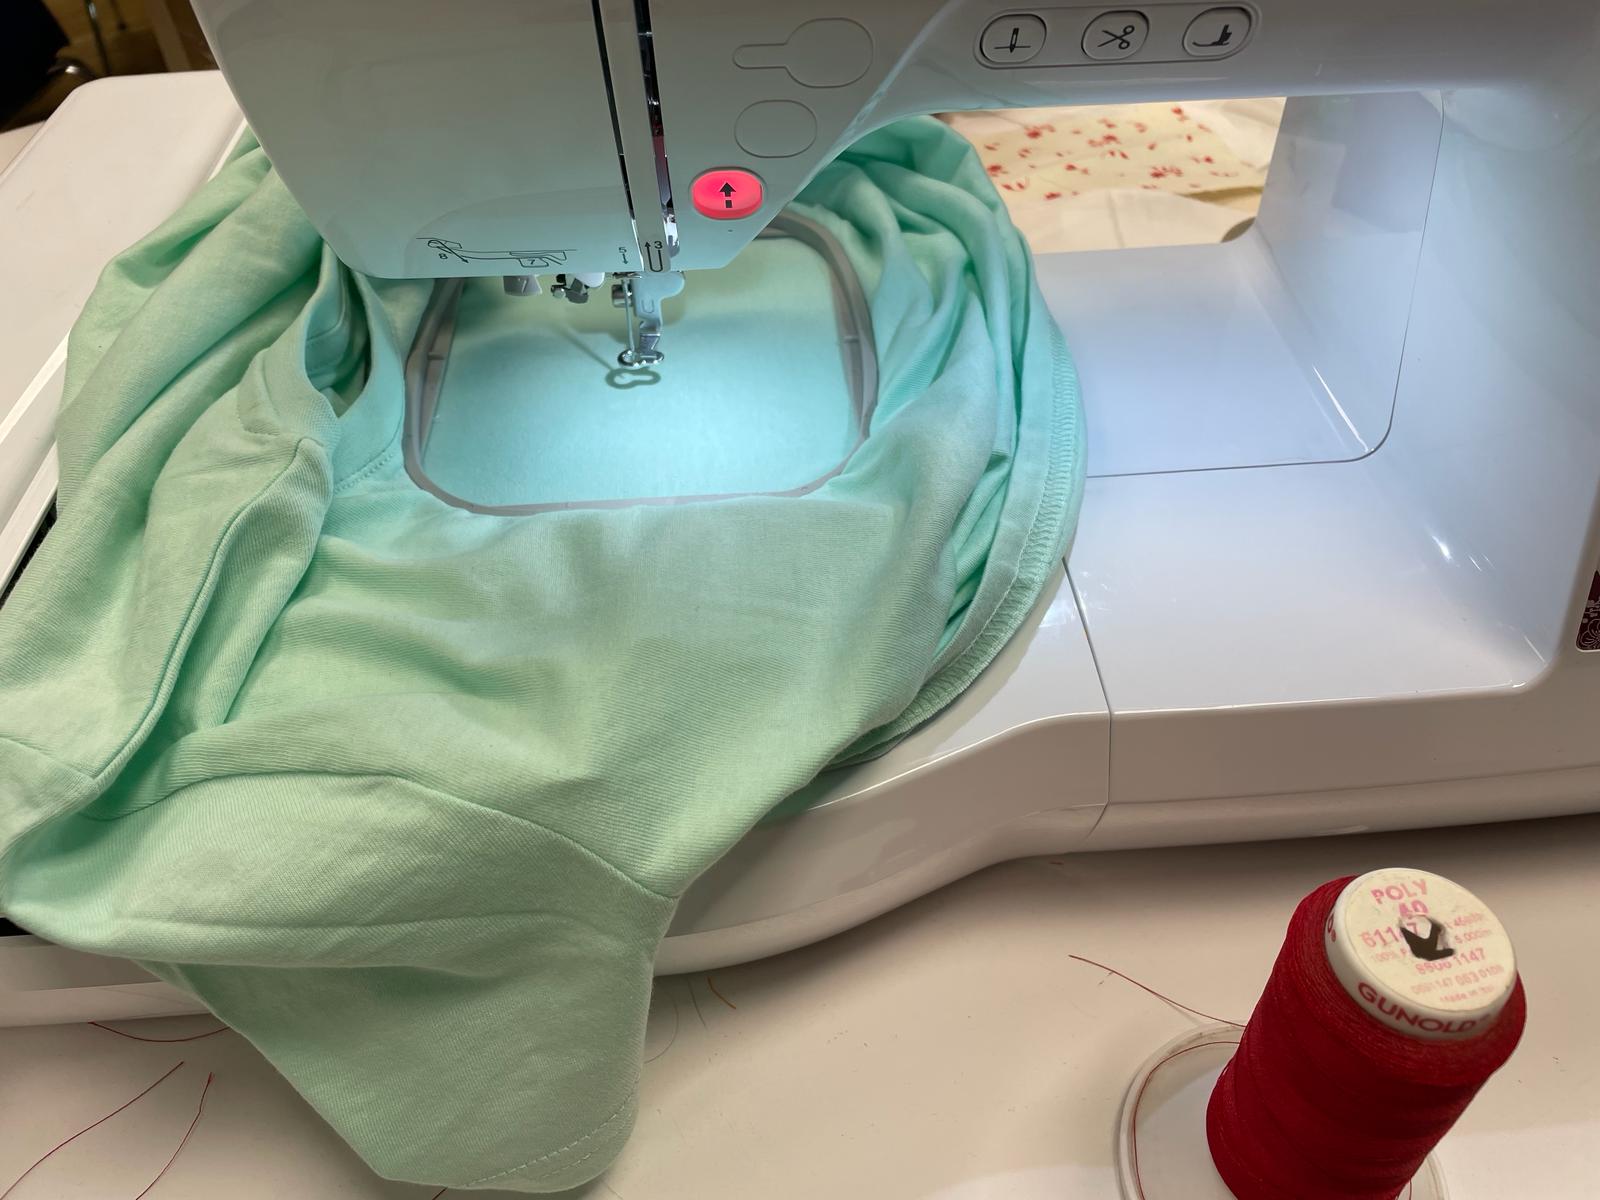
- The T-shirt must be fixed with the help of a frame and a background paper
- The frame is inserted into a device
- The upper thread is threaded according to the displayed numbers
- I left the lower thread as it was because we were told that it would not be visible. However, since my fabric was very thin, the thread could still be seen. It would have been better to change it
- Once everything was set, I could press the start button and the machine began to embroider
- Since I had selected three different colors, I had to change the thread twice in between. However, this is very simple. The machine stops automatically, you thread the new thread, lower the sewing foot again, and then press start again.

Reflection
It was really fun to learn so many things in one week. Unfortunately, there was not enough time to try everything intensively. Perhaps I could have used the week more if it had not been so close to graduation. Nonetheless, I was able to take a lot with me and think that I will incorporate some aspects into my final project.